Sharing something that you feel exciting is always Fun. You always want your friends to know about something that you found to be noteworthy. The urge is always there, to share new things. It’s human tendency.
Like in computers where you have Print-screen capability, where you can take a screenshot and send instantly to your friends, iOS has come up with a excellent new App. “Display Recorder”.
You can now download Display Recorder from App Store.

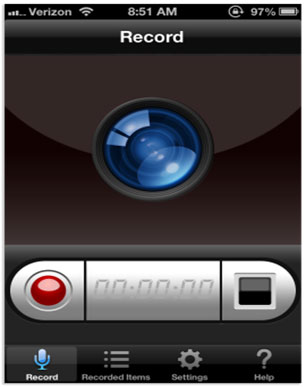
After downloading and installing the App, launch the App, click on the Red Button to record.

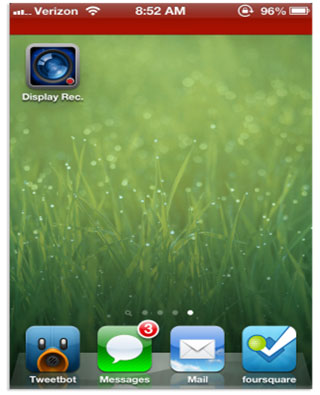
Once recording has started, you can exit the app by pressing the home button on your device. Display Recorder will continue to record your device’s screen until you go back into the app and press the stop button. The red bar on the top of the screen indicates that audio is being recorded along with the video.

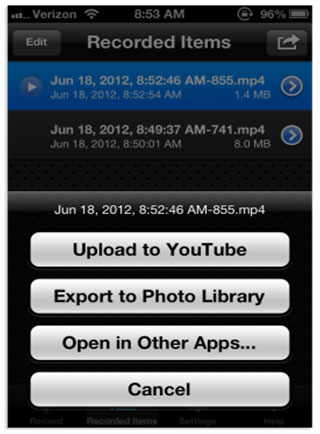
You can then view your recorded videos and even share them directly from within the app. You can seamlessly transfer the clipping to Youtube or transfer the same to other apps. It’s indeed a very handy tool.
If you don’t want your audio recorded along with the video, you can disable it in the settings. With audio disabled, the red bar seen above will not be shown while you’re recording. You can also control video quality, video size and duration in the settings.
This app is sure to come in handy for iPhone/iPad users who try to help someone, or just want to show off a feature or app on their iOS device.
You must have seen plenty of such clippings and video’s when you tried to Google some problem of your iOS device, and the results came up were having screen recordings, and always wanted to have such functionality.
Previously, this feature was only enjoyed with iOS users with their devices jailbroken, now all the users of iOS can enjoy this feature, and share the things with the WORLD.

